
Light emitting diodes work both ways -- they emit light when you put power into the leads, but you can also put light into the lens and get power out of the leads. They are a type of solar cell, like what you might find in a calculator, or on someone's roof.
The amount of power is tiny, since the little chip in the LED can't collect very much light energy, due to its small surface area. But the Launchpad can detect and measure the power, using the analogRead() function.
We can attach an LED to one of the analog input pins, but we already have two LEDs mounted on the board -- the red LED at P1.0, and the green LED at P1.6, so we will use those for this demonstration.
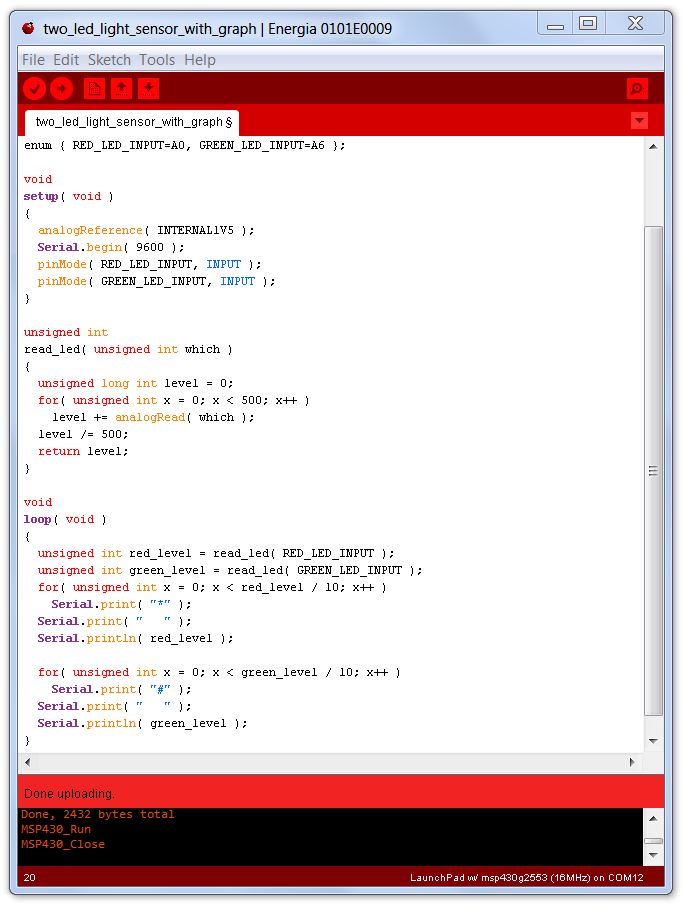
In our setup() function, we set the internal voltage reference to 1.5 volts. This is what we will compare the voltage from the LED to. A red LED might produce 1.5 volts from a very bright light, and so the number we get back from the analogRead() function would be 1023, the highest value it can give us. If you want to measure brighter light, you can set the internal voltage reference to 2.56 volts (using INTERNAL2V5) or use DEFAULT to let analogRead() compare to the 3.3 volt power supply.
We set the red and green LED pins to be inputs instead of outputs.
In the loop() function, we read each of the LEDs, and the plot the reading on a poor man's graph, using asterisks for the red LED and number signs for the green LED.
The read_led() function reads the value of the LED 500 times, and averages. This gets rid of random variations in the readings, what engineers refer to as 'noise'.
If you shine a light onto the LEDs, you can watch the graph change. As you move the light to shine more on one LED than the other, you can see one graph bar or the other (the asterisks or the number signs) get longer or shorter than the other.
With the ability to detect changes in light, your sculpture, robot, or other device can turn lights on when it gets dark, react to someone blocking a light, or react when a light is directed onto it. With two LEDs facing 90 degrees apart, you could have a flower that follows the sun, or a robot that searches for a light to charge its batteries using solar panels. Some people build robots that follow a dark line on the ground, going around complicated courses by keeping the dark line always under the front-mounted sensors.
Using analogRead() to read the voltage produced by the LED is reasonably fast, but the LED is not very sensitive to low light levels when used in that fashion. There is another way to configure the LED as a light sensor, and it uses some tricks we learned very early in this book, when we discussed capacitors and their use as timers.
An LED is a block of semiconductor with two leads. Those two leads act as the plates of a capacitor. When we put a voltage on the LED in the wrong direction, so that it does not light up, the material between the two metal leads is not a conductor (it is an insulator). Two plates separated by an insulator is all a capacitor is, and our "reverse biased" LED is just that -- a capacitor.
What makes the LED a particularly interesting capacitor is that it is light sensitive. When light strikes the semiconductor material between the two metal leads, it causes electrons to leave their atoms, and become available to conduct electricity. So the LED material becomes slightly conductive when light hits it. When the capacitor is charged, one lead has a surplus of electrons, and the other has a deficit. If the material between them is not a good insulator, the electrons can move from the lead that has too many to the lead that is missing some. The charge stored in the capacitor seems to leak.
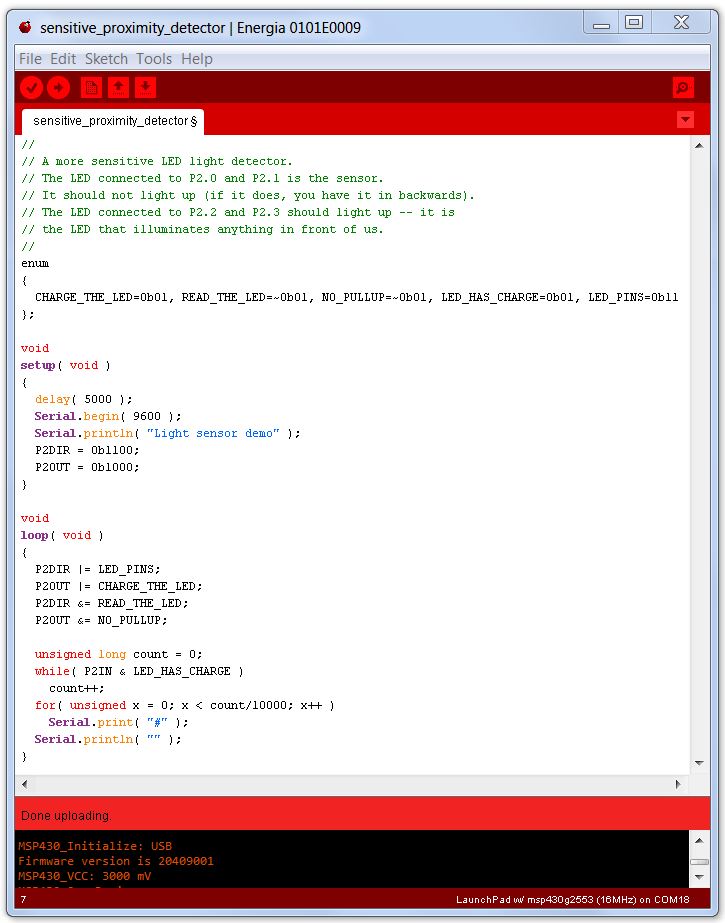
We can use this information to make a sensitive light detector. We first charge up the LED by putting a voltage across it in the "wrong" direction, the one that does not cause it to glow. We do this by connecting the LED (backwards) to a pin and setting that pin high. Then we make that pin become an input. As an input, the pin sees the charge we put on the capacitor, and we read it as high. But if there is light hitting the LED, eventually the charge leaks away, and the voltage we are seeing on the input pin drops to low.
By timing how long this takes, we get a reading on how bright the light was (on average) that was hitting the LED.
This trick gives us a very sensitive light detector (the LED I tested gave me readings of about 20 counts when in bright light to over 2 million when I cupped my hand over the LED). That is equal to 16 bits of resolution, compared to the 10 bits available to analogRead().
The drawback is that it takes more time to get a reading in low light than the analogRead() function did. But since analogRead() gave us no ability to read such low levels, and no ability to read very bright light levels, this more sensitive detector has a place in our toolkit.
As a proximity detector (when combined with another LED to light up whatever is in front of us), the sensor was reliably detecting my hand from over a foot away when the room was dark. Using infrared or color filters might give good results even in a bright setting.
A more sensitive proximity detector