

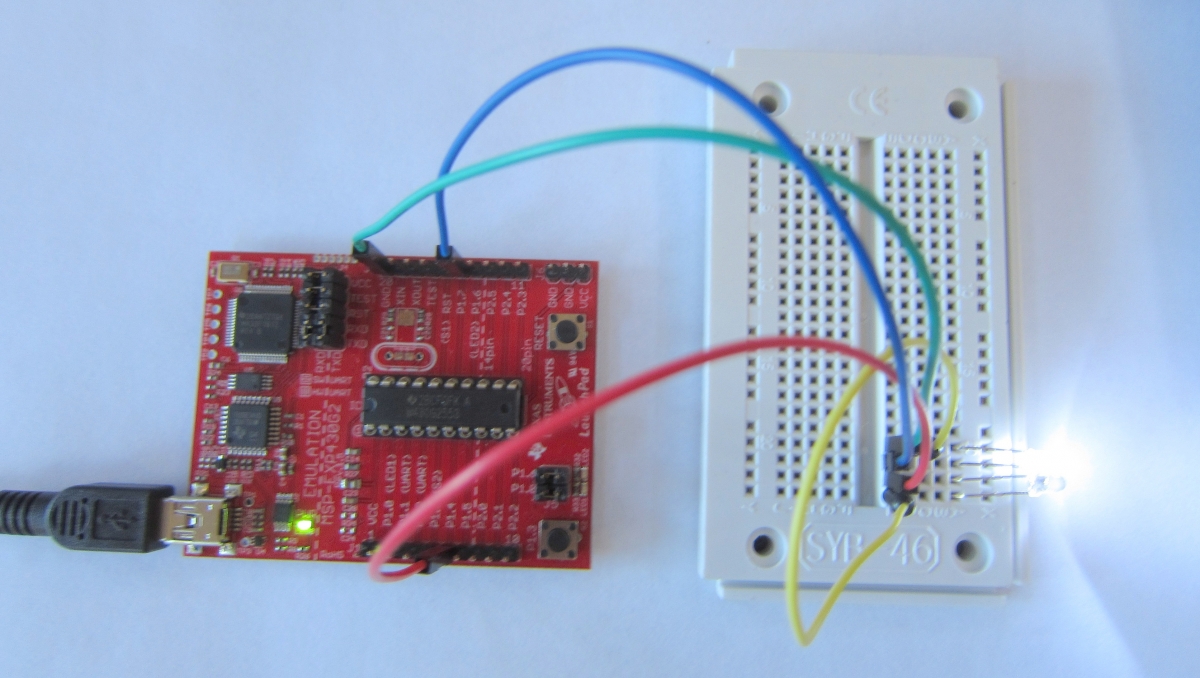
The circuit above shows the Launchpad connected to an external white LED and an external red LED.
The white LED is connected to Port 1 pin 7 and ground. The red LED is connected to Port 1 pin 4 and ground.
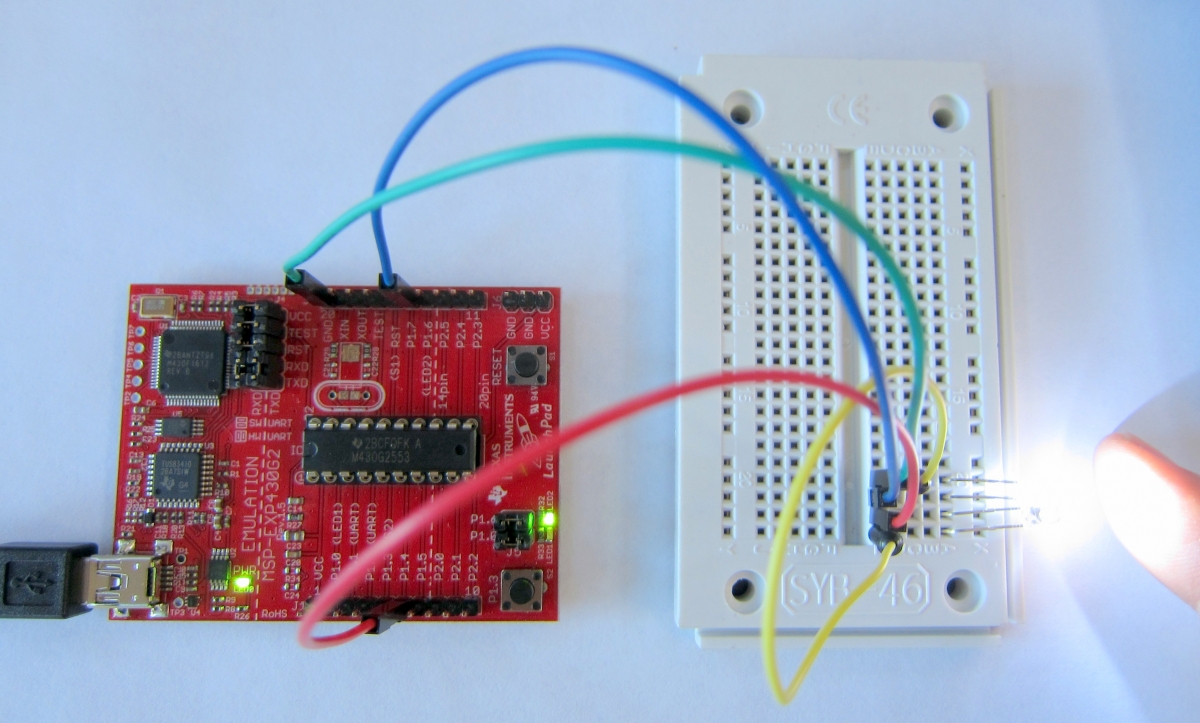
The program keeps the white LED on, and uses the red LED as a light detector. When you put something in front of the white LED, the red LED detects the reflected light, and we read that as a value returned from analogRead( A4 ). The value is usually about 600 when nothing is reflecting the light back. When the light is detected, the value drops, reaching zero if a white card is within about a quarter of an inch.
The program collects 100 readings in setup() to establish a baseline value for the condition when nothing is detected in front of the LEDs. It saves the largest value seen.
In the loop() function, we again read a value and convert it to a percentage of the maximum by first multiplying by 100, and then dividing by the saved maximum value.
If the percentage is less than 50%, we have detected something in front of the LEDs, and we turn on the on-board green LED to indicate that.
We selected the 50% value because there is a lot of variation in the readings, even when it looks like nothing has changed. Engineers call this kind of variation "noise in the signal", and there are ways of dealing with it, to reduce its effects.
The second program smooths out the variations, and allows us to use a 90% level as our criterion. We first collect 64 values, and sort them, so the low values are at the top of the list, and the high values are at the bottom. Then we throw away the high 8 values and the low 8 values, and average the values in-between.
The result is a much more consistent reading, with less variation caused by random effects. The variation we see correlates much better with actual changes in the distance between the LEDs and any object in front of them.