
Sometimes you just need more light.
Our little computer runs on 3.3 volts. Worse, it can't deliver more than a few milliamperes of current. It can light an LED, but not a lot more.
However, if you are very close to an LED, the difference between OFF and ON is like day and night.
We can take advantage of that day and night difference. At your local hardware store, you can buy a lamp controller that turns a lamp on at dusk, and off at dawn. It knows the difference between day and night. With our LED and a bit of vinyl tape, we can fool it into turning on and off whenever we wish.
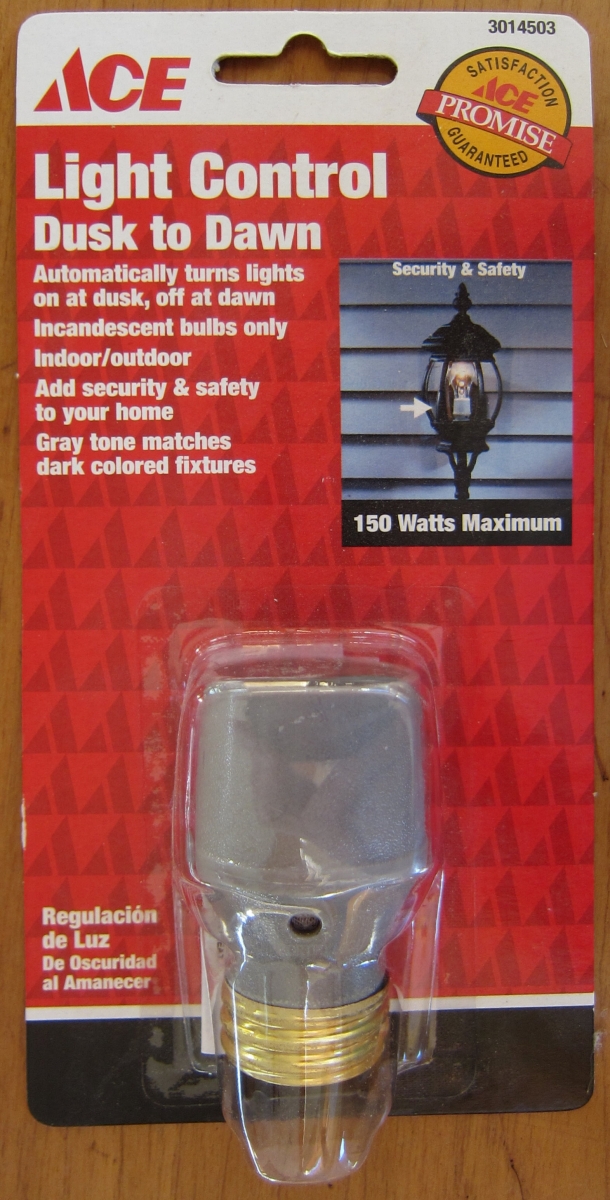
You can find the type that has screw-on connectors (known as Edison sockets), or the plug-in type.

Constructing our first prototype is quick and easy. We start by soldering some long wires to our LED so the computer doesn't have to be right there at the lamp.

Then we use some vinyl electrician's tape to attach the LED right over the hole where the device senses light. I used a square LED, but a round one would have made the job a little easier, as it would have fit into the hole.

Finally, we cover the LED with enough tape to prevent outside light from reaching the photo-resistor in the little hole.
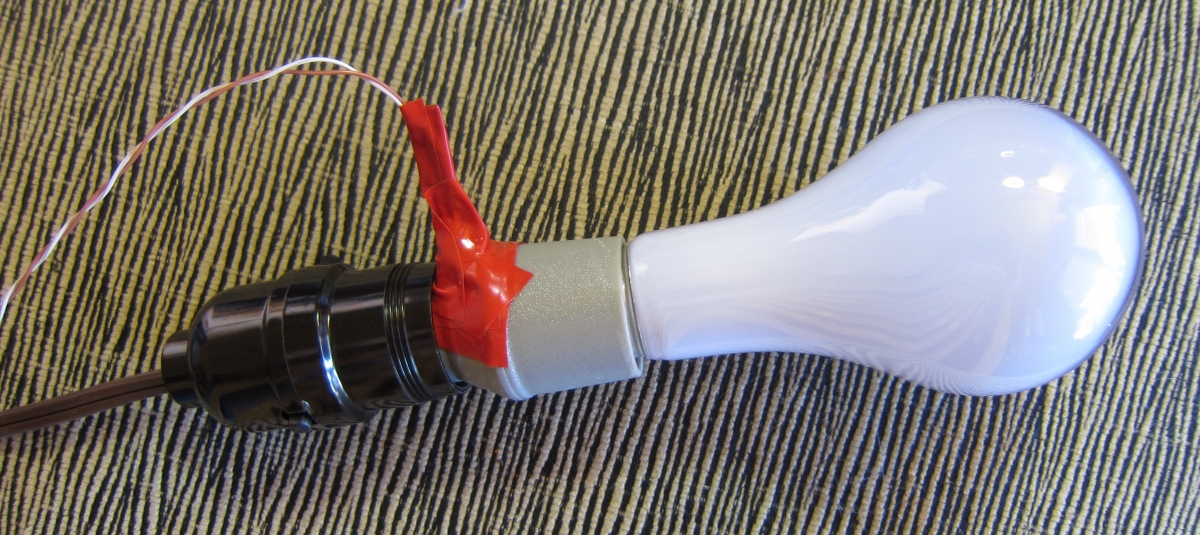
When the controller is screwed into a lamp socket, and a bulb screwed into the controller, we are finished.
Any of the programs we used to blink an LED will now be able to turn the light bulb on or off. Because the LED looks like daylight to the controller, turning the LED on will turn the lamp off, and turning the LED off will turn the lamp on.
The vinyl tape is not a permanent way to attach the LED. Black epoxy would make a much better attachment, or some PVC glue, followed by some black paint after the glue was dry. But for our quick demonstration, the tape will do just fine.
We can even dim the light, after a fashion. The cheap little controller doesn't react to light fast enough to do a perfect job, so there is a little flickering, like a candle flame, and we don't get the full range of our analogWrite() function, as values less than about 70 stay on, and values above 150 stay off, but we can actually use Pulse Width Modulation to get some values between all the way on and all the way off, which is pretty good for a couple bucks and five minutes worth of effort.
//
// DimBulb is a class that controls a light bulb connected to a photoelectric socket
// that normally just turns the light on at dusk and off at dawn. By taping an LED over
// the photosensor, we can use it to dim the bulb by computer control.
//
// The photoelectric socket I used was sensitive to levels between about 70 and 150. Other
// values simply left it on or off.
//
// Unfortunately, the photoelectric sockets I have found do not respond quickly enough
// to make a nicely dimmed bulb -- they flicker a bit. So this mechanism is more suited to
// simply turning bulbs on and off. The good news is that you can control 16 bulbs using
// digitalWrite instead of analogWrite, giving you 16 levels of brightness just by
// controlling how many bulbs are on.
//
// To smoothly Pulse Width Modulate a light bulb, use this program but connect the computer
// to a solid state relay instead of using the photoelectric socket and LED trick.
//

class DimBulb
{
  int pin;
public:
  DimBulb( int p ) { pin = p; pinMode( pin, OUTPUT ); }
  void level( int l )
  {
    analogWrite( pin, l );
  }
};

DimBulb a( 4 );

void
setup()
{
}

void
loop()
{
  for( int x = 70; x < 150; x++ )
  {
    a.level( x );
    delay( 50 );
  }

  for( int x = 150; x > 70; x-- )
  {
    a.level( x );
    delay( 50 );
  }
}