
Our friend Stephanie wanted to make an animated Kraken to sit on her shoulder as part of a costume. She knew how to make plastic soda straws curl up using scissors and thread, but lacked for a way to pull the strings automatically.
But we know how to do that. An Arduino and three servo motors, plus a little programming, and we have animatronics.
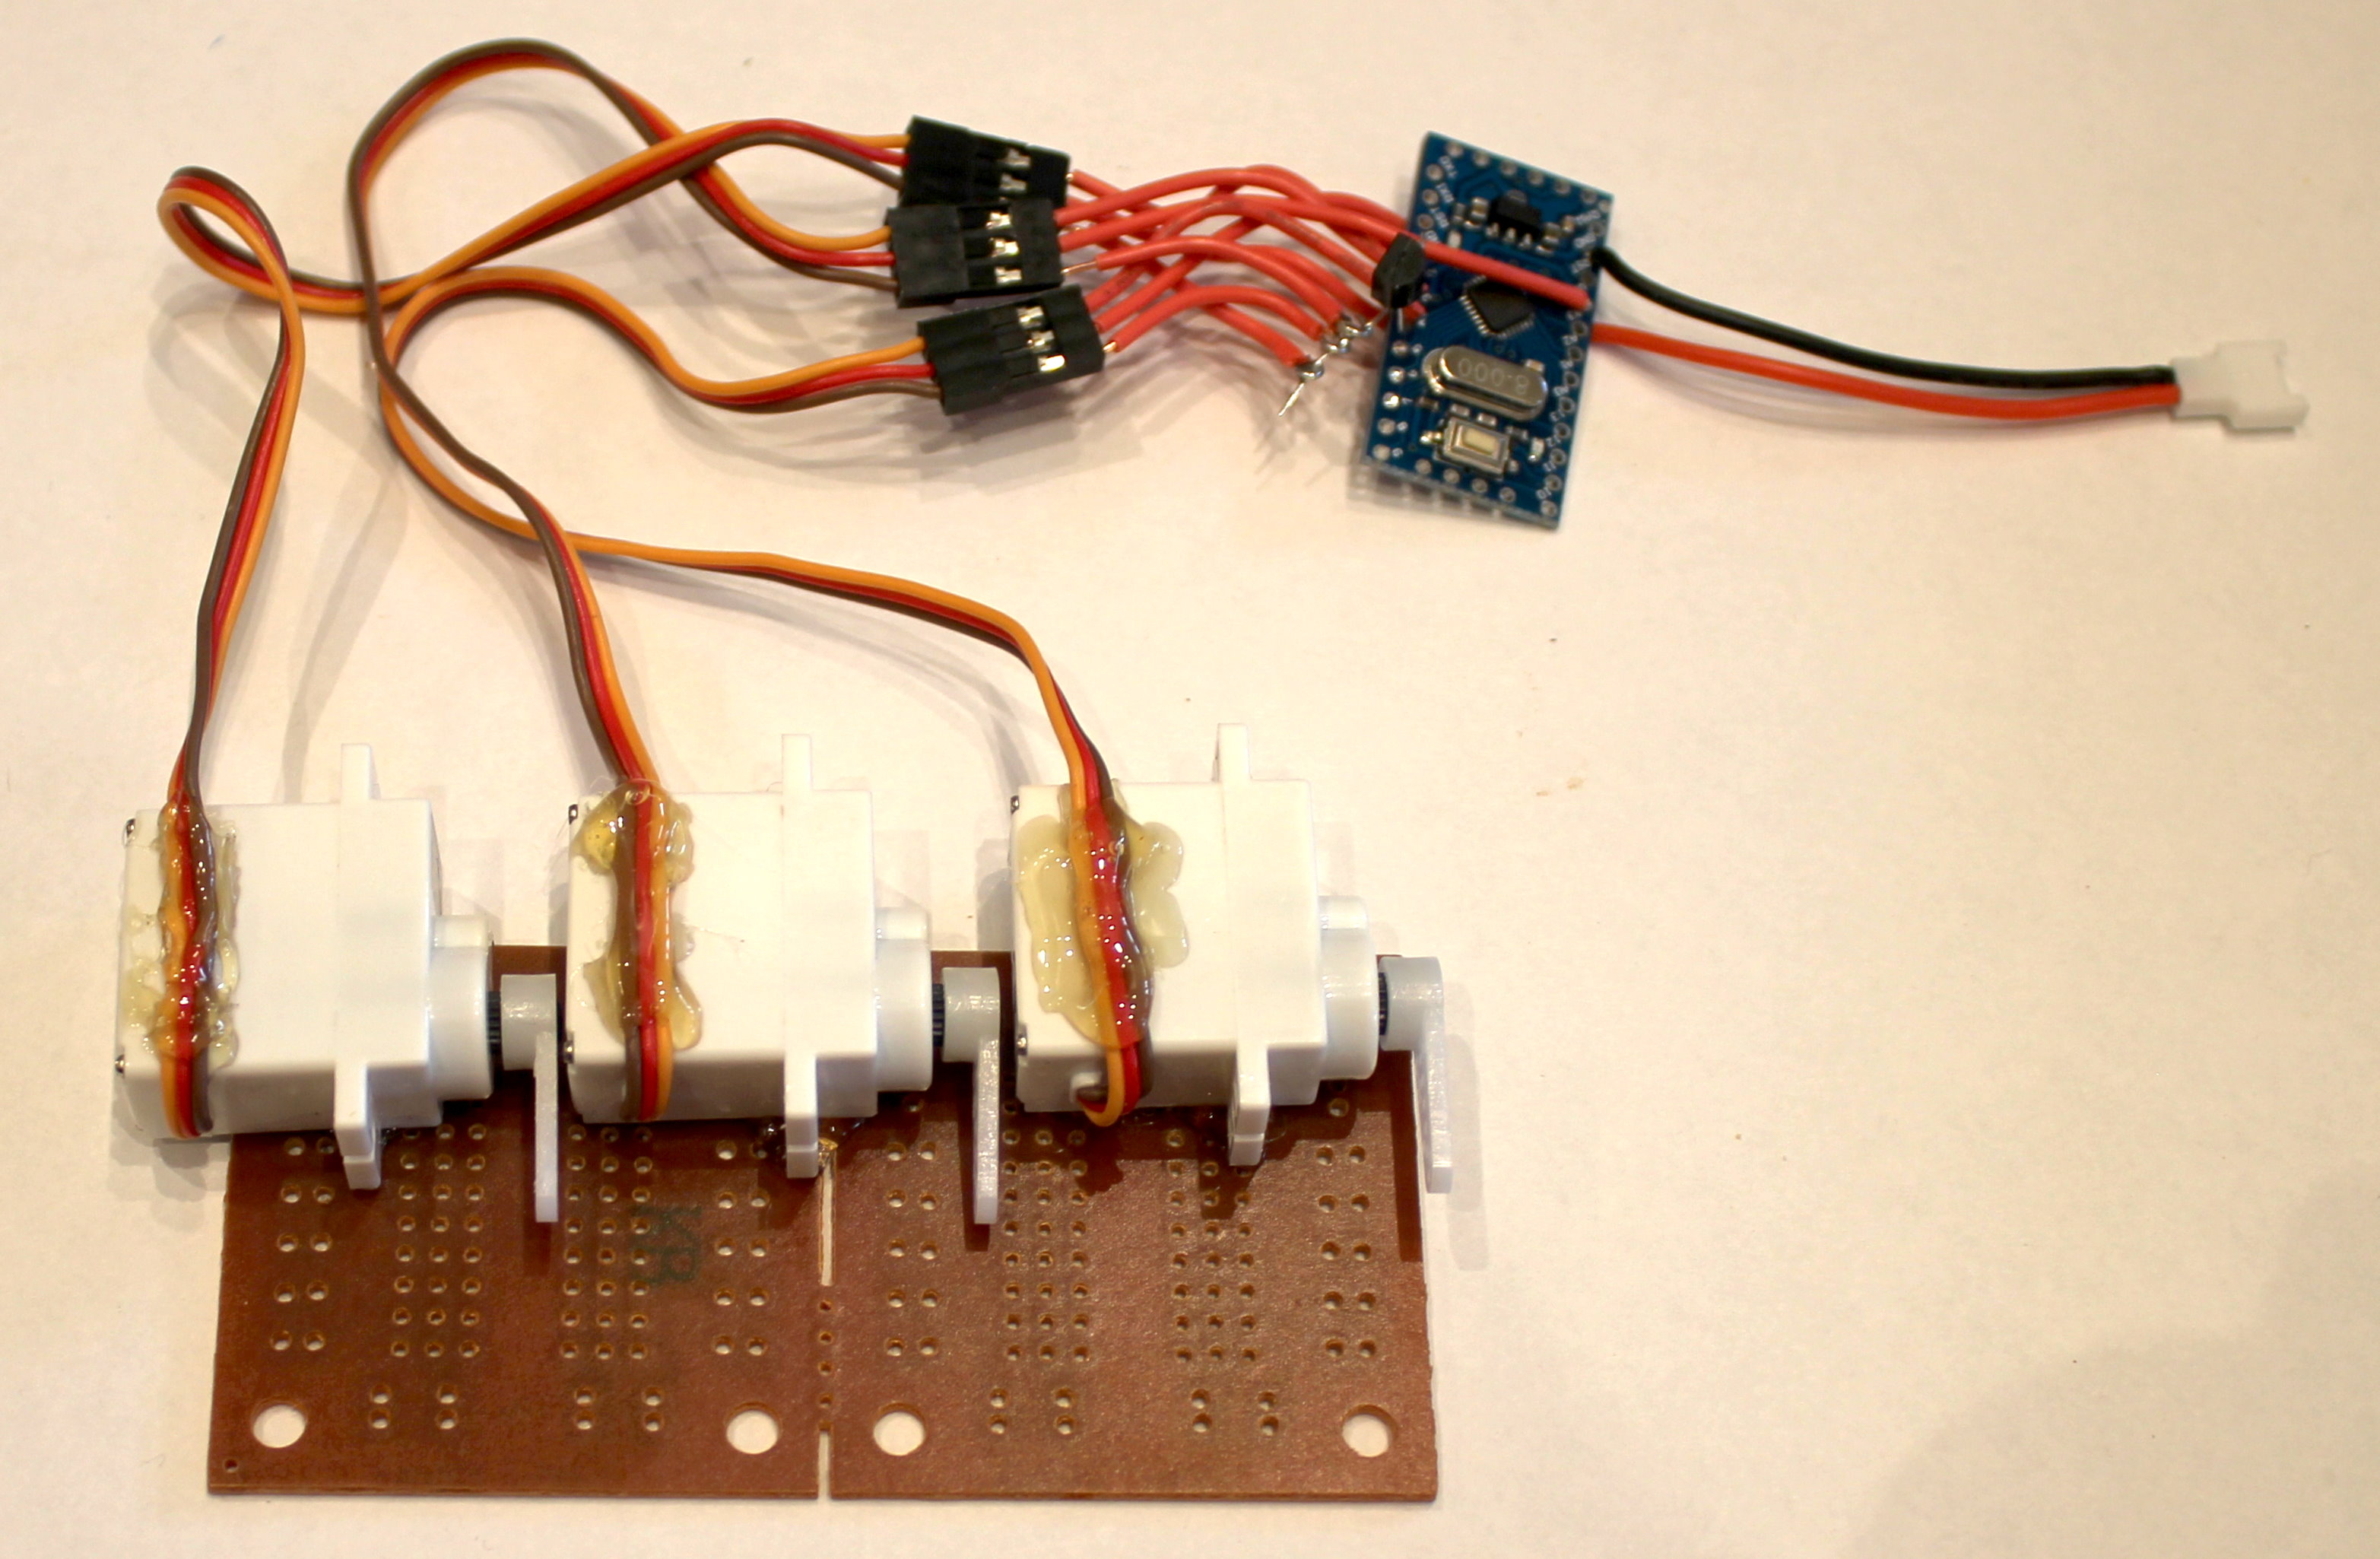
Servo motors are very easy to work with. You provide them with power and ground, and a single wire that provides the signal to tell it how many degrees to turn (from 0 to 180).
We soldered three ground wires and three power wires to the ground and power holes in the Arduino board. We stripped the other ends of the wires (solid copper insulated 22 gauge hookup wire) so they would slip into the servo motor connectors.
We soldered three more wires to the 2, 3, and 4 holes in our Arduino Pro Mini, and plugged the other end of each wire into the signal socket in the servo motor connector.
Lastly, we soldered a battery connector to the power and ground holes of the Arduino.
The result is shown below.
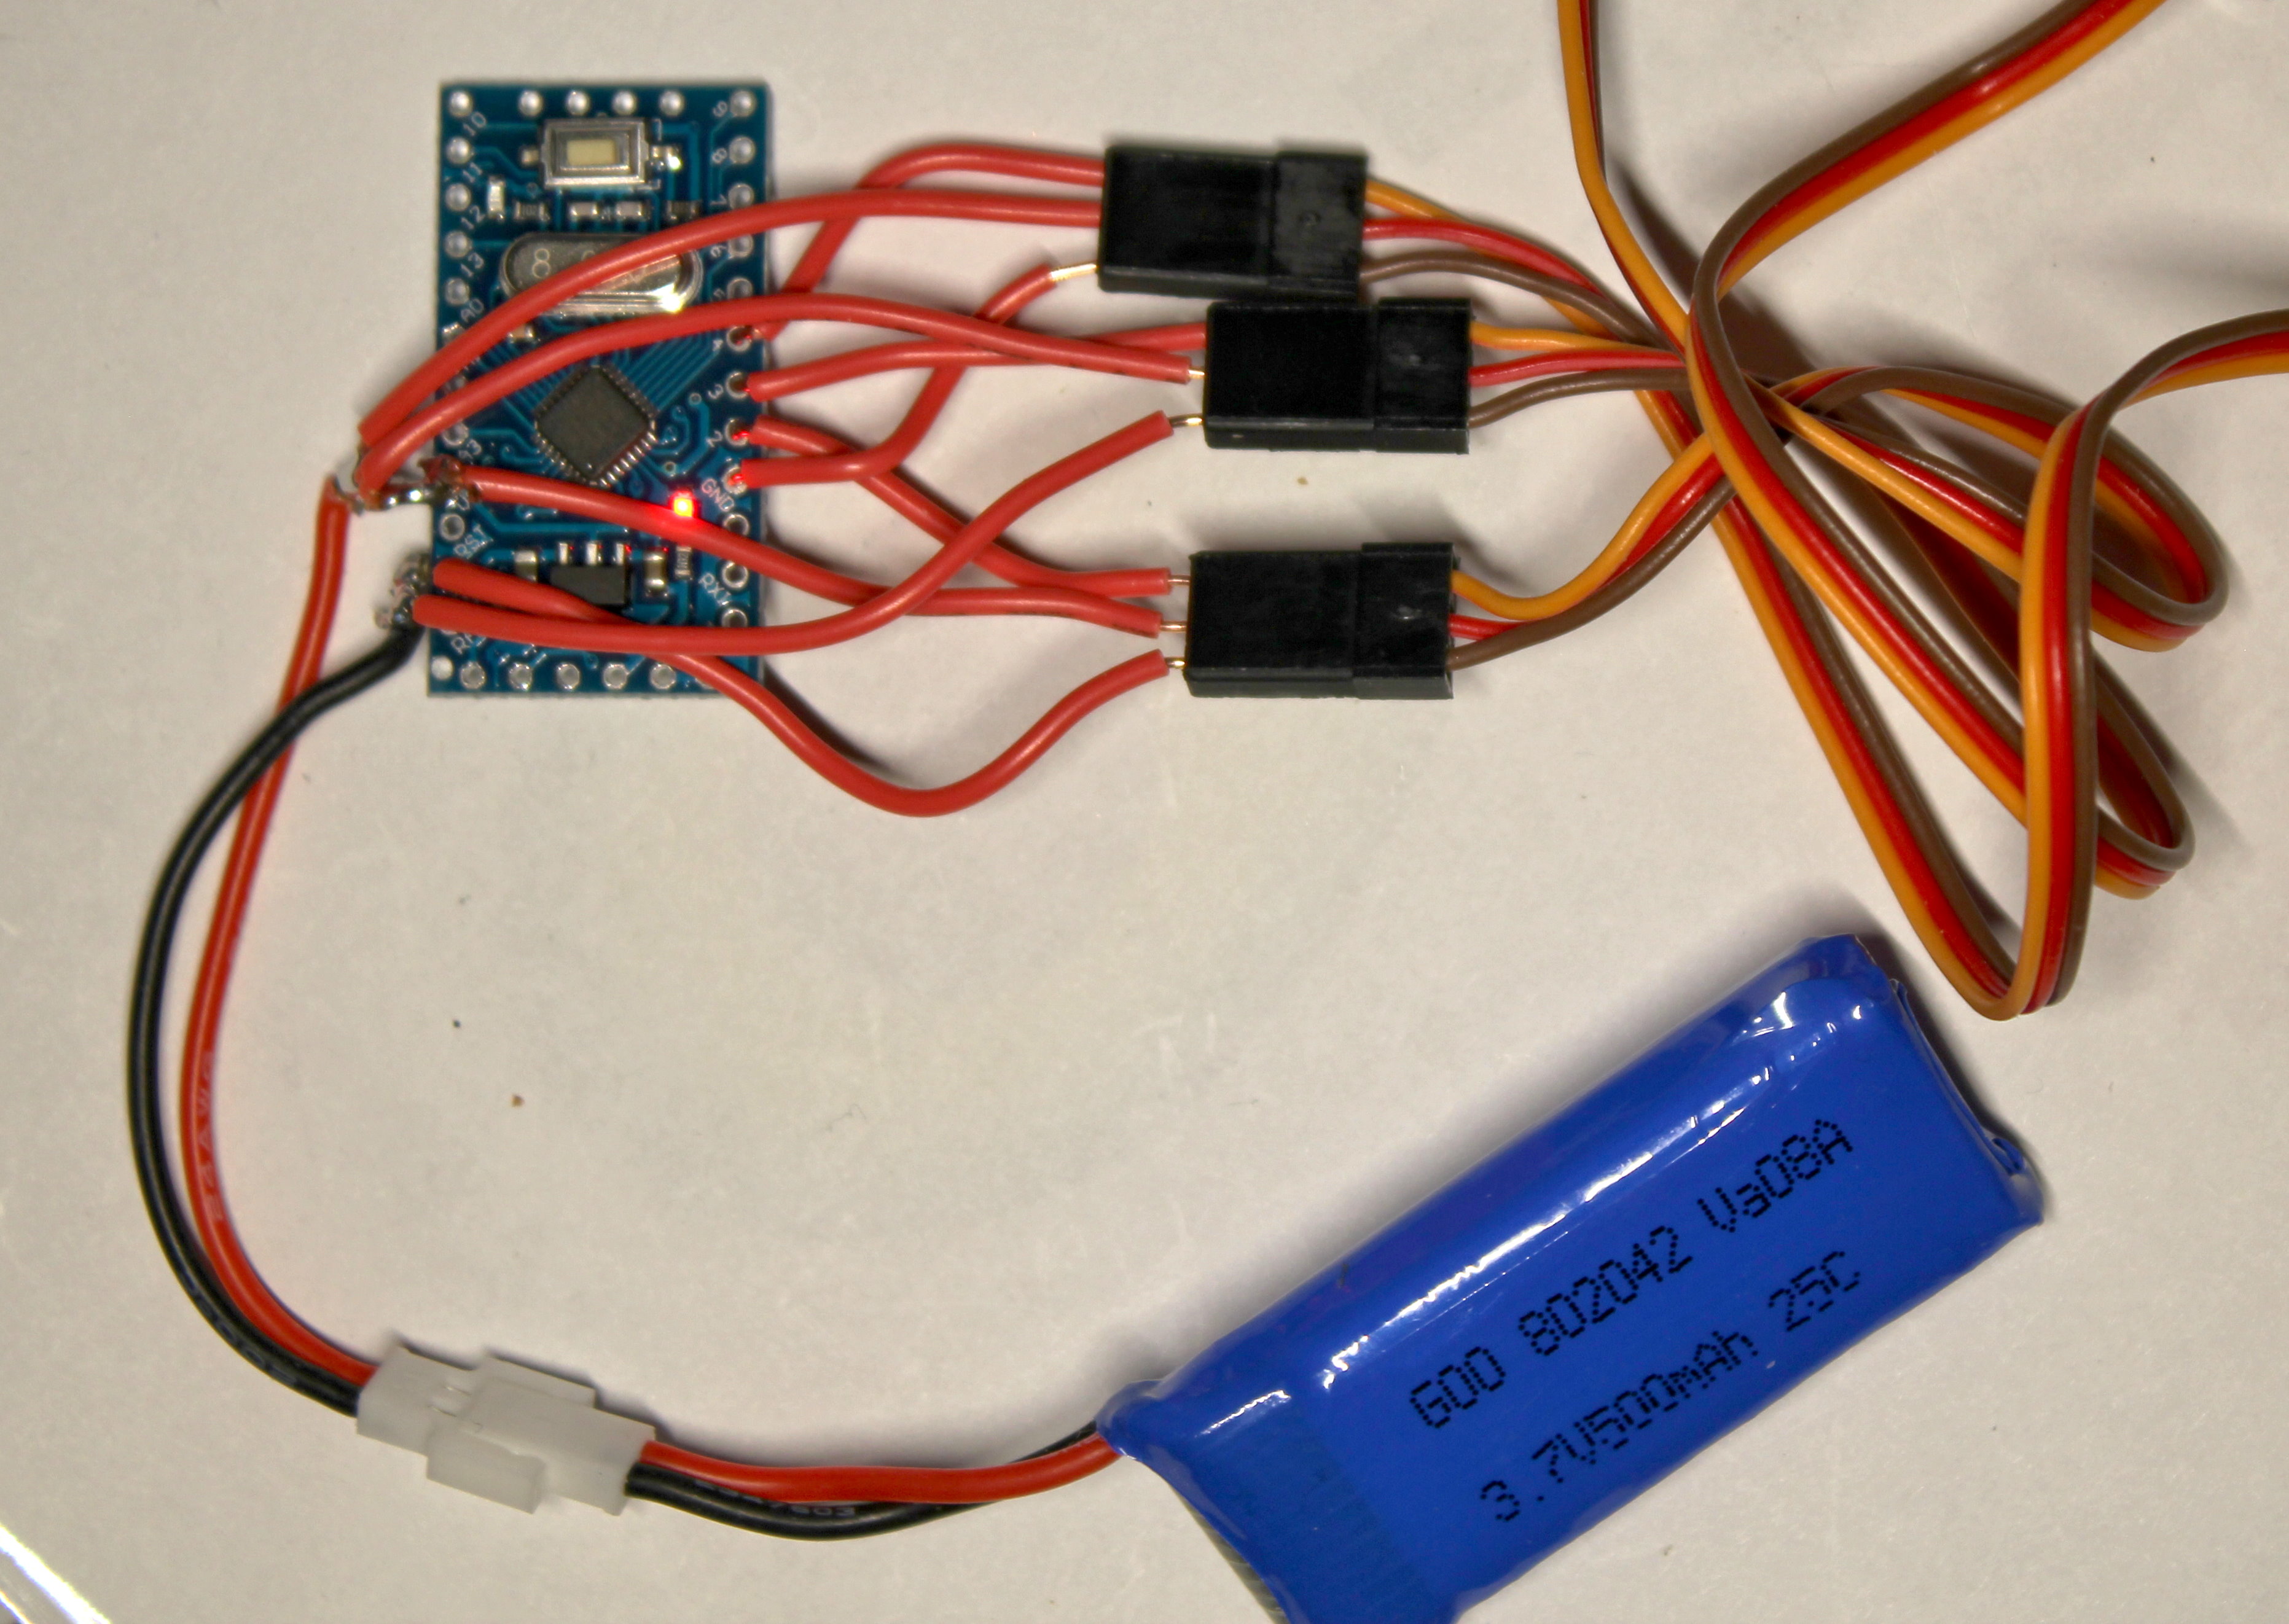
The servo motor wires are brown, red, and yellow. The brown is ground, the red is power, and the yellow is signal.
The result worked great, as you can see in the video. The straws have plenty enough power to curl up even when they are inserted into the glove-like fabric tentacles of the Kraken puppet.
The code for our first version was pretty simple, as you can see below:
# include <Arduino.h>
# include <Servo.h>
enum dir { DOWN, UP, HOW_SLOWLY=50 };
struct arm
{
Servo s;
unsigned char pin;
unsigned char position;
dir direction;
int how_far;
arm( void )
{
pin = 0;
position = 0;
direction = UP;
how_far = 0;
}
void
rate( unsigned char r )
{
how_far = r;
}
void
set_pin( unsigned char p )
{
pin = p;
s.attach( pin );
}
void
move( void )
{
if( position < how_far )
{
direction = UP;
position = 0;
}
if( position >= 175 )
{
direction = DOWN;
position = 175;
}
if( direction == UP )
position += how_far;
else
position -= how_far;
s.write( position );
}
void
go_limp( void )
{
while( position < 175 )
{
s.write( position );
position += 3;
delay( HOW_SLOWLY );
}
}
} arm1, arm2, arm3;
void
setup( void )
{
arm1.set_pin( 2 );
arm2.set_pin( 3 );
arm3.set_pin( 4 );
arm1.rate( 1 );
arm2.rate( 2 );
arm3.rate( 3 );
delay( 2000 ); // Allow time for bootloader
}
void
loop( void )
{
arm1.move();
arm2.move();
arm3.move();
delay( HOW_SLOWLY );
}
The code defines a structure called arm that will handle all of the animation. We have three instances of this structure, called arm1, arm2, and arm3.
Methods defined in the arm structure allow us to set which pin the servo is connected to for each arm, and set the rate at which each arm will move. Another method defines how to actually move the arm, by calling the write() method on the arm's servo object, giving it the angle the servo should move to.
In setup(), we set pins 2, 3, and 4 to be the servo data pins, and we set three different rates for the arms to move, so they look somewhat natural.
Servo motors use a lot of power. This can interfere with downloading new programs onto the Arduino. I got tired of disconnecting the servos every time I wanted to make a change to the program, so I added a 2 second delay as the last thing in the setup routine. When we download a new program, it first resets the Arduino. Now we have 2 seconds during which the bootloader can take over execution before any servo motors get turned on.
The loop() function simply moves each arm by one increment. Since each arm moves a different amount when its move() method is called, they appear to be independent. After each movement, we pause for a few milliseconds, so the arms don't move to quickly.
While our first version worked great, I was not completely happy with the battery life. Our 500 milliampere-hour battery lasted about an hour. To get better battery life, we needed a way to turn off the power to the motors for a bit. The Kraken could wiggle its arms for 10 seconds or so, and then we could drop all power to the servos, and put the Arduino to sleep for 6 to 8 seconds, before repeating. This should gets us almost double the battery life.
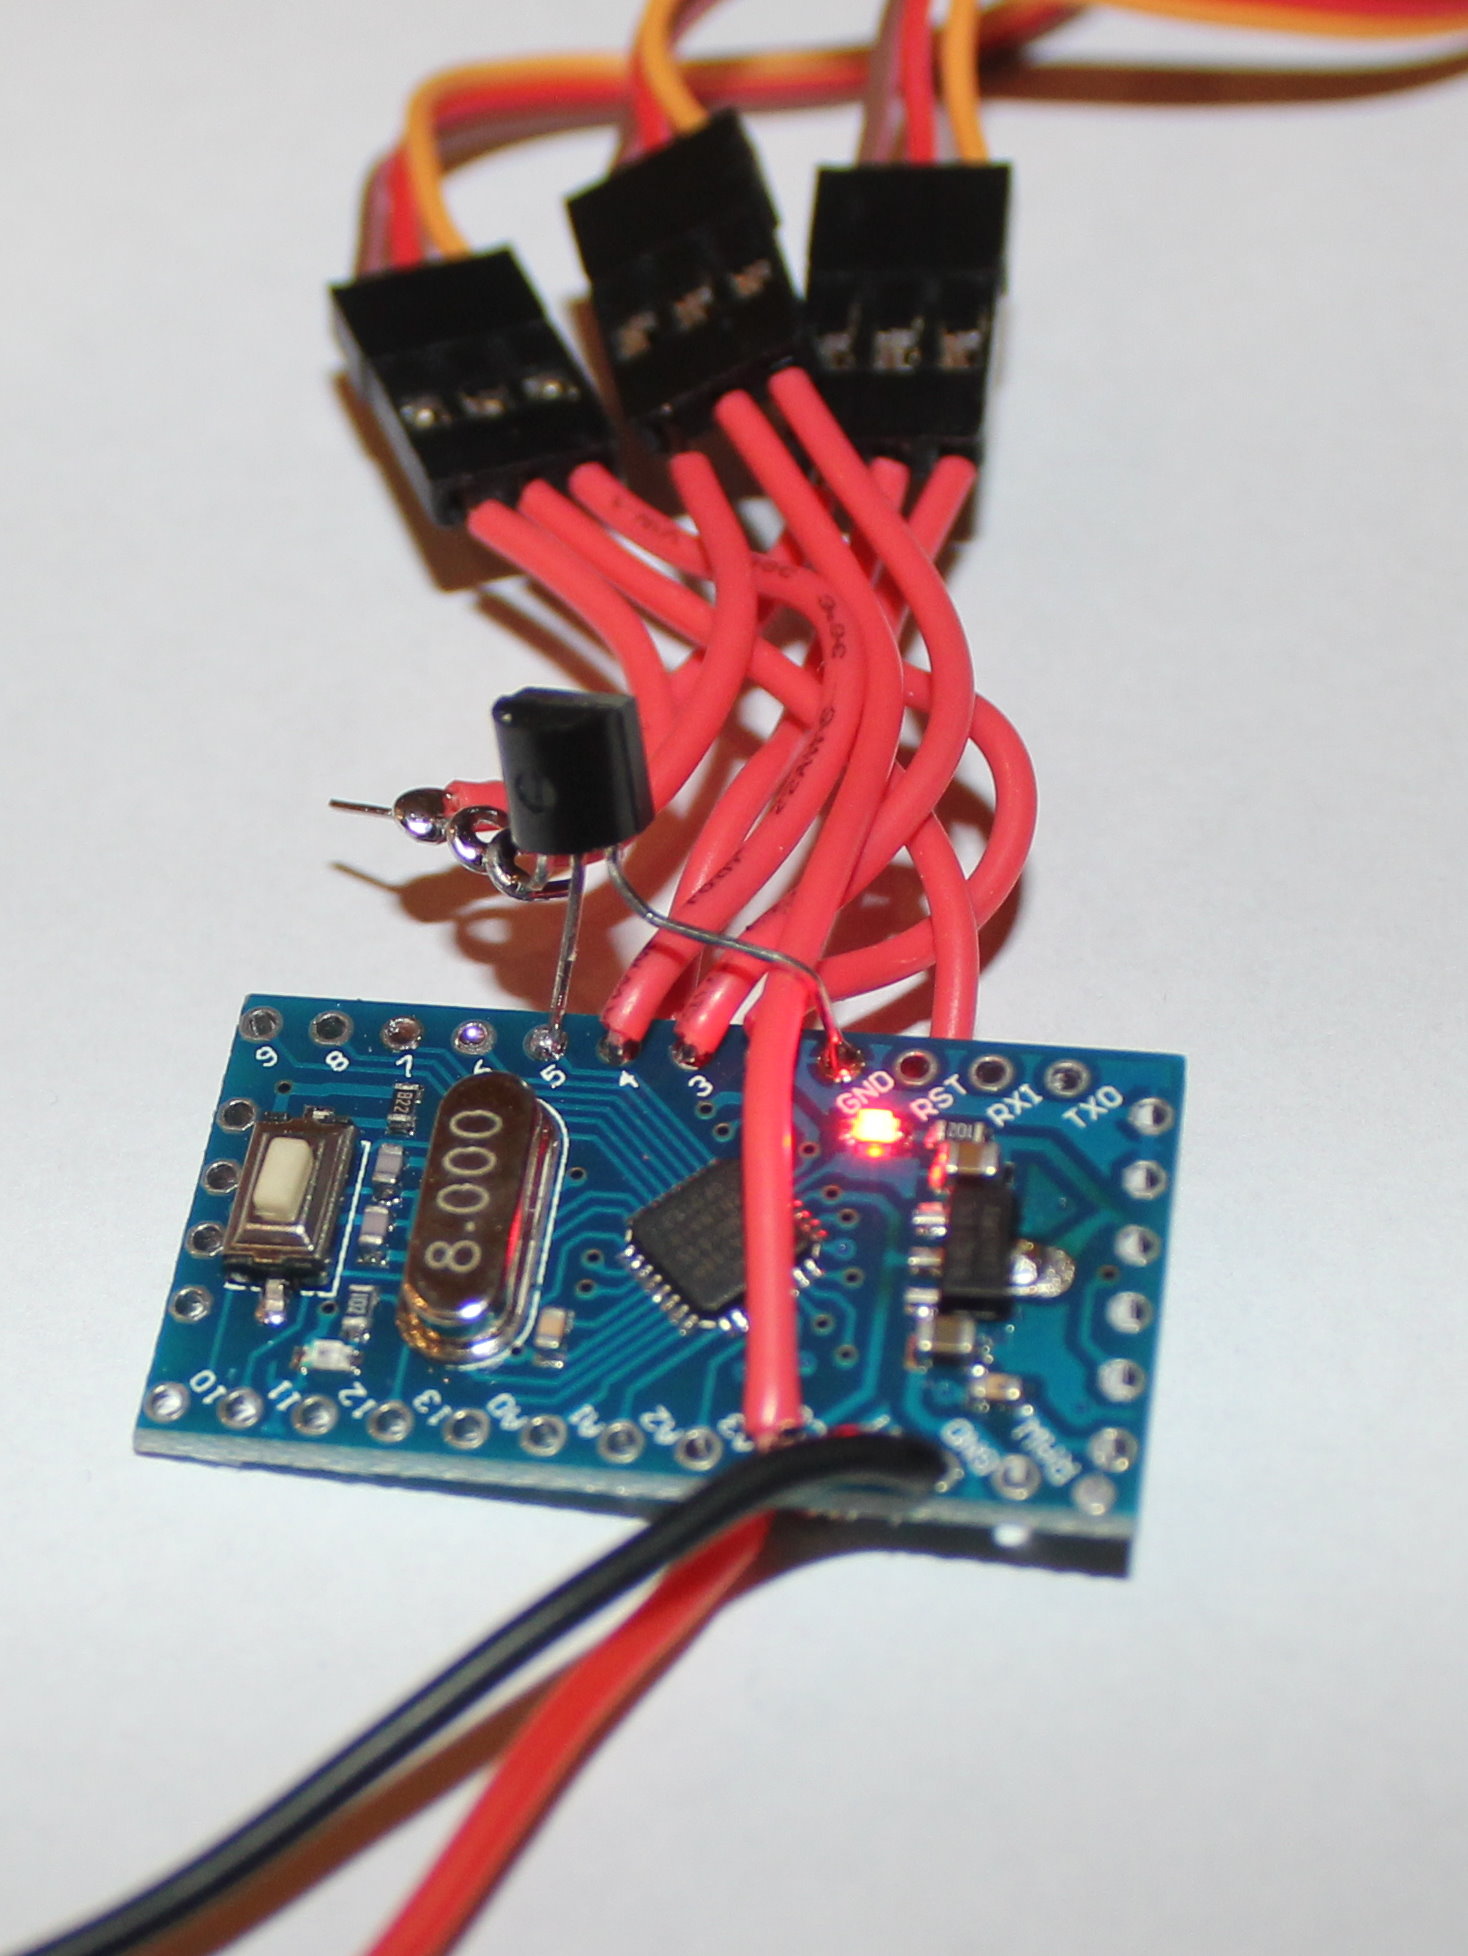
To turn off the servo motors, we need a transistor. The transistor sits in between the ground of the Arduino and the ground wires of the servos. We use it as a switch. When the Arduino pin 5 is HIGH, it turns on the transistor, and the servos get their power. When pin 5 is LOW, no power can get through the transistor, and the motors don't drain the battery.
The transistor is just soldered onto the Arduino, with its base terminal soldered to the pin 5 hole, and its emiter terminal soldered to the Arduino's ground hole. The third terminal, the collector, is left sticking out sideways, and the three servo ground wires are soldered to it, as you can see below:
The code now looks like this:
# include <Arduino.h>
# include <Servo.h>
//
// Fix a bug in LowPower.cpp to allow it to compile on ATmega168 chips:
// The file LowPower.h must have these lines added:
//
// #if defined (__AVR_ATmega168__)
// #define SLEEP_MODE_EXT_STANDBY SLEEP_MODE_STANDBY
// #endif
# include <LowPower.h>
# ifdef __AVR__
# include <avr/power.h>
# endif
enum dir { DOWN, UP, HOW_SLOWLY=50 };
struct arm
{
Servo s;
unsigned char pin;
unsigned char position;
dir direction;
int how_far;
arm( void )
{
pin = 0;
position = 0;
direction = UP;
how_far = 0;
}
void
rate( unsigned char r )
{
how_far = r;
}
void
set_pin( unsigned char p )
{
pin = p;
s.attach( pin );
}
void
move( void )
{
if( position < how_far )
{
direction = UP;
position = 0;
}
if( position >= 175 )
{
direction = DOWN;
position = 175;
}
if( direction == UP )
position += how_far;
else
position -= how_far;
s.write( position );
}
void
go_limp( void )
{
while( position < 175 )
{
s.write( position );
position += 3;
delay( HOW_SLOWLY );
}
}
} arm1, arm2, arm3;
void
setup( void )
{
DDRB = 0; // Unused PORT B set to output to save power
PORTB = 0; // Unused PORT B pins set to low to save power
ADCSRA = 0; // Disable the ADC to save power
power_all_disable();
power_timer0_enable();
power_timer1_enable();
pinMode( 5, OUTPUT ); // Servo ground
digitalWrite( 5, LOW ); // No power to the servo
arm1.set_pin( 2 );
arm2.set_pin( 3 );
arm3.set_pin( 4 );
arm1.rate( 1 );
arm2.rate( 2 );
arm3.rate( 3 );
delay( 2000 ); // Allow time for bootloader
digitalWrite( 5, HIGH ); // Give power to the servo
}
int count = 0;
void
loop( void )
{
arm1.move();
arm2.move();
arm3.move();
delay( HOW_SLOWLY );
if( count++ > 400 )
{
count = 0;
// Shut down for a bit (8 seconds) to save battery power
arm1.go_limp();
arm2.go_limp();
arm3.go_limp();
digitalWrite( 5, LOW ); // No power to the servo
LowPower.powerDown( SLEEP_8S, ADC_OFF, BOD_OFF );
delay( 100 );
digitalWrite( 5, HIGH ); // Give power to the servo
}
}
The changes to the code are in setup() and loop(). In setup(), we turn off all Arduino board functions except for timer0, which we need so we know when to wake up from low power mode, and timer1, which is needed for the servo motor code. Then we turn off power to the servo motors by setting pin 5 to LOW. After we wait our 2 seconds, we set pin 5 to HIGH, so the servos get power.
In the loop() routine, we add a counter, so that every 400 times through the loop we take a break to save power. We call the go_limp() method on each arm, so the tentacles relax. Then we turn off power to the servos, and go to sleep. When we wake up, we delay another tenth of a second (100 milliseconds) to allow everything to wake up properly, and then we turn on the power to the servos. This prevents the servos from jerking when we wake up.
Making the tentacles relax while we sleep makes it easy to disconnect the power while they are flat, for easier storage.
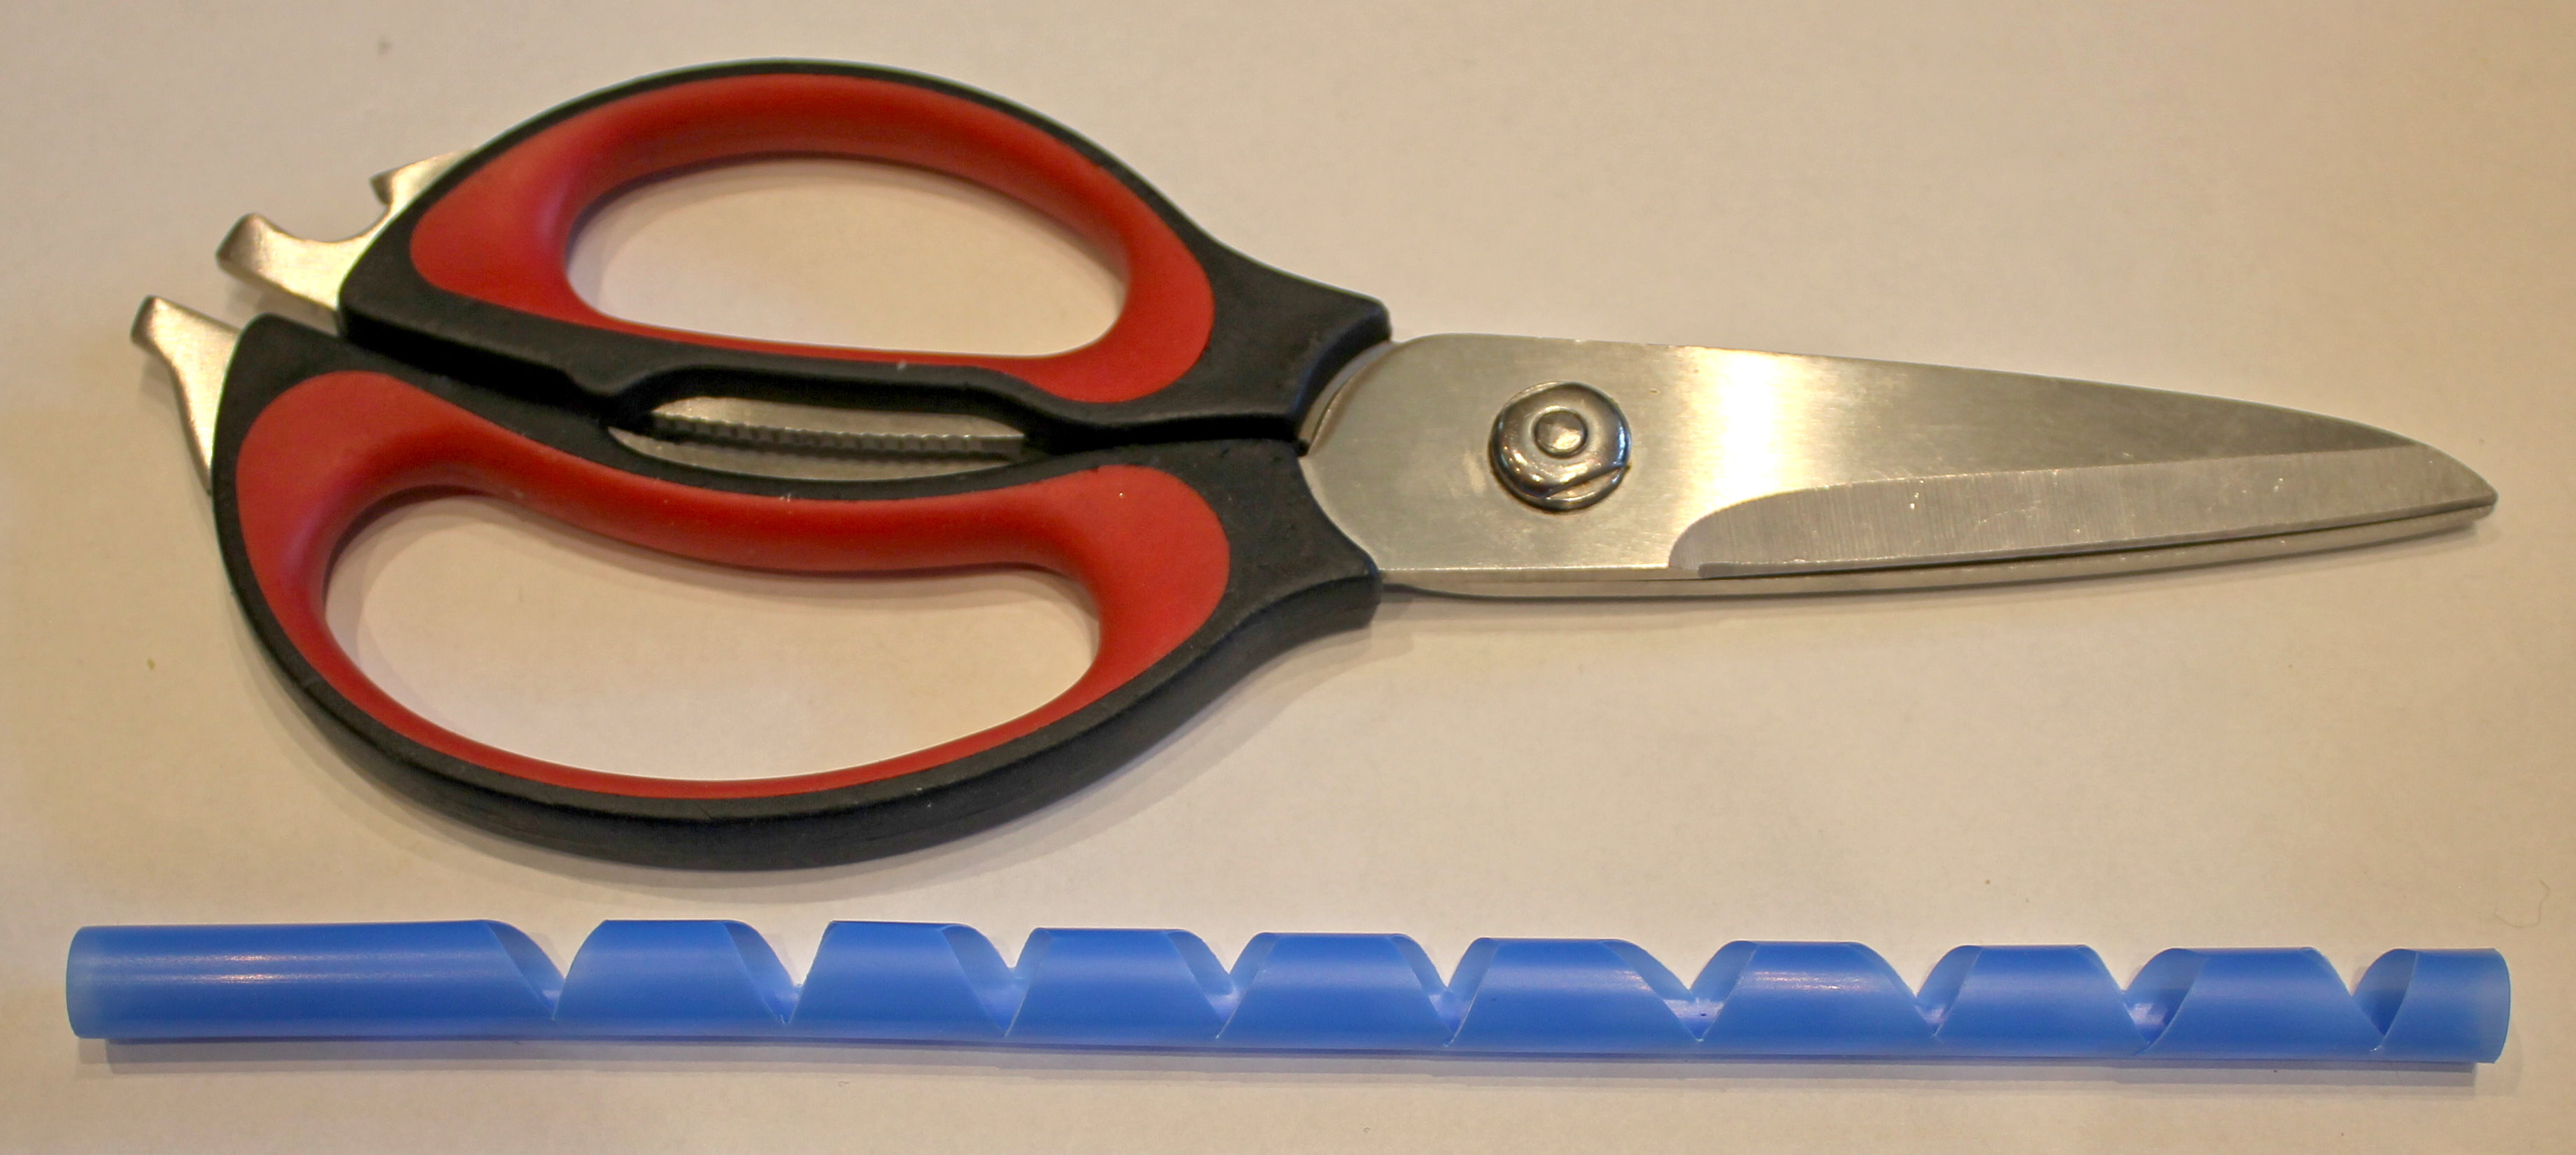
To make the tentacles, we start with a plastic straw, and cut V-shaped notches in it where we want it to be able to curl.
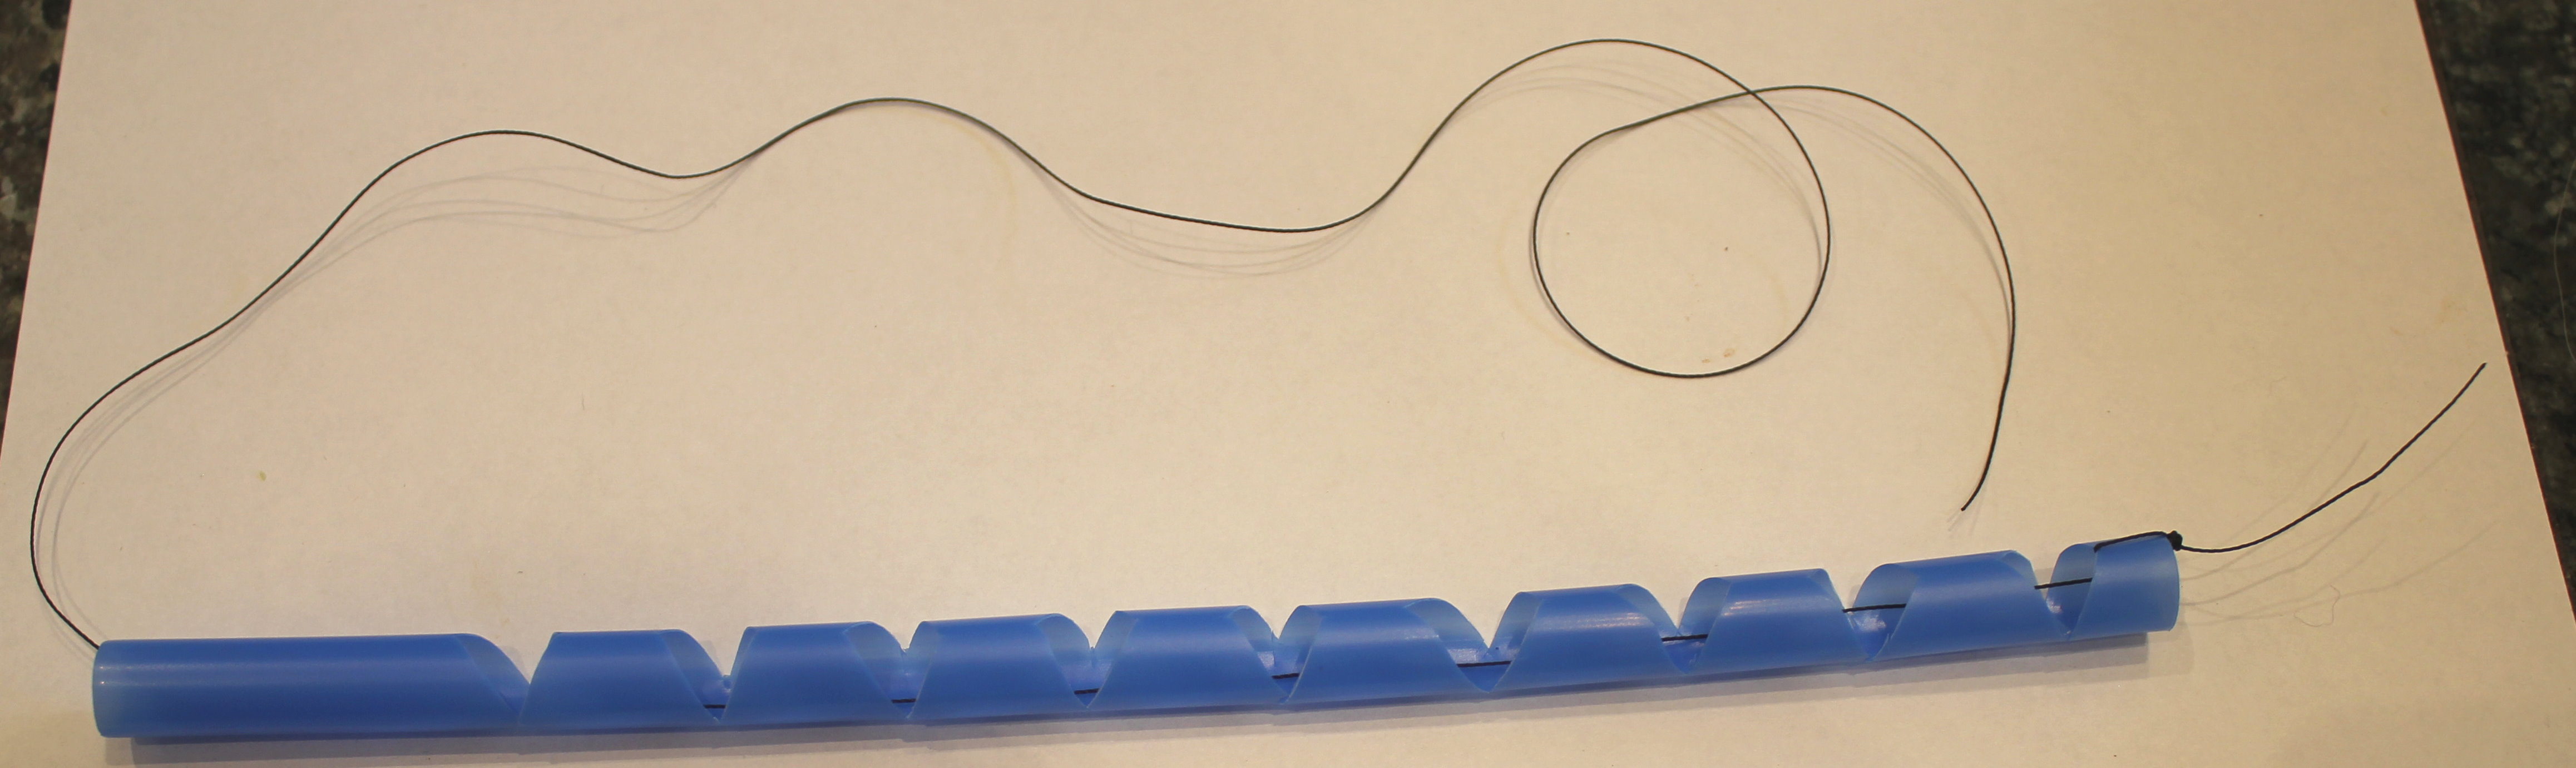
Next, we tie strong upholstery thread onto the end, and thread it through the straw.
We glue the servo motors onto any suitable base. In this case, I used a piece of printed circuit board. A little extra glue holds the wiring out of the way of the servo arms.
Lastly, we glue the straws in place under the servo arms, and attach the threads to the holes in the ends of the servo arms. Make sure the strings are tight, so there is no slack, and tie them to the servo arms. A little dab of glue ensures the knots won't come untied.
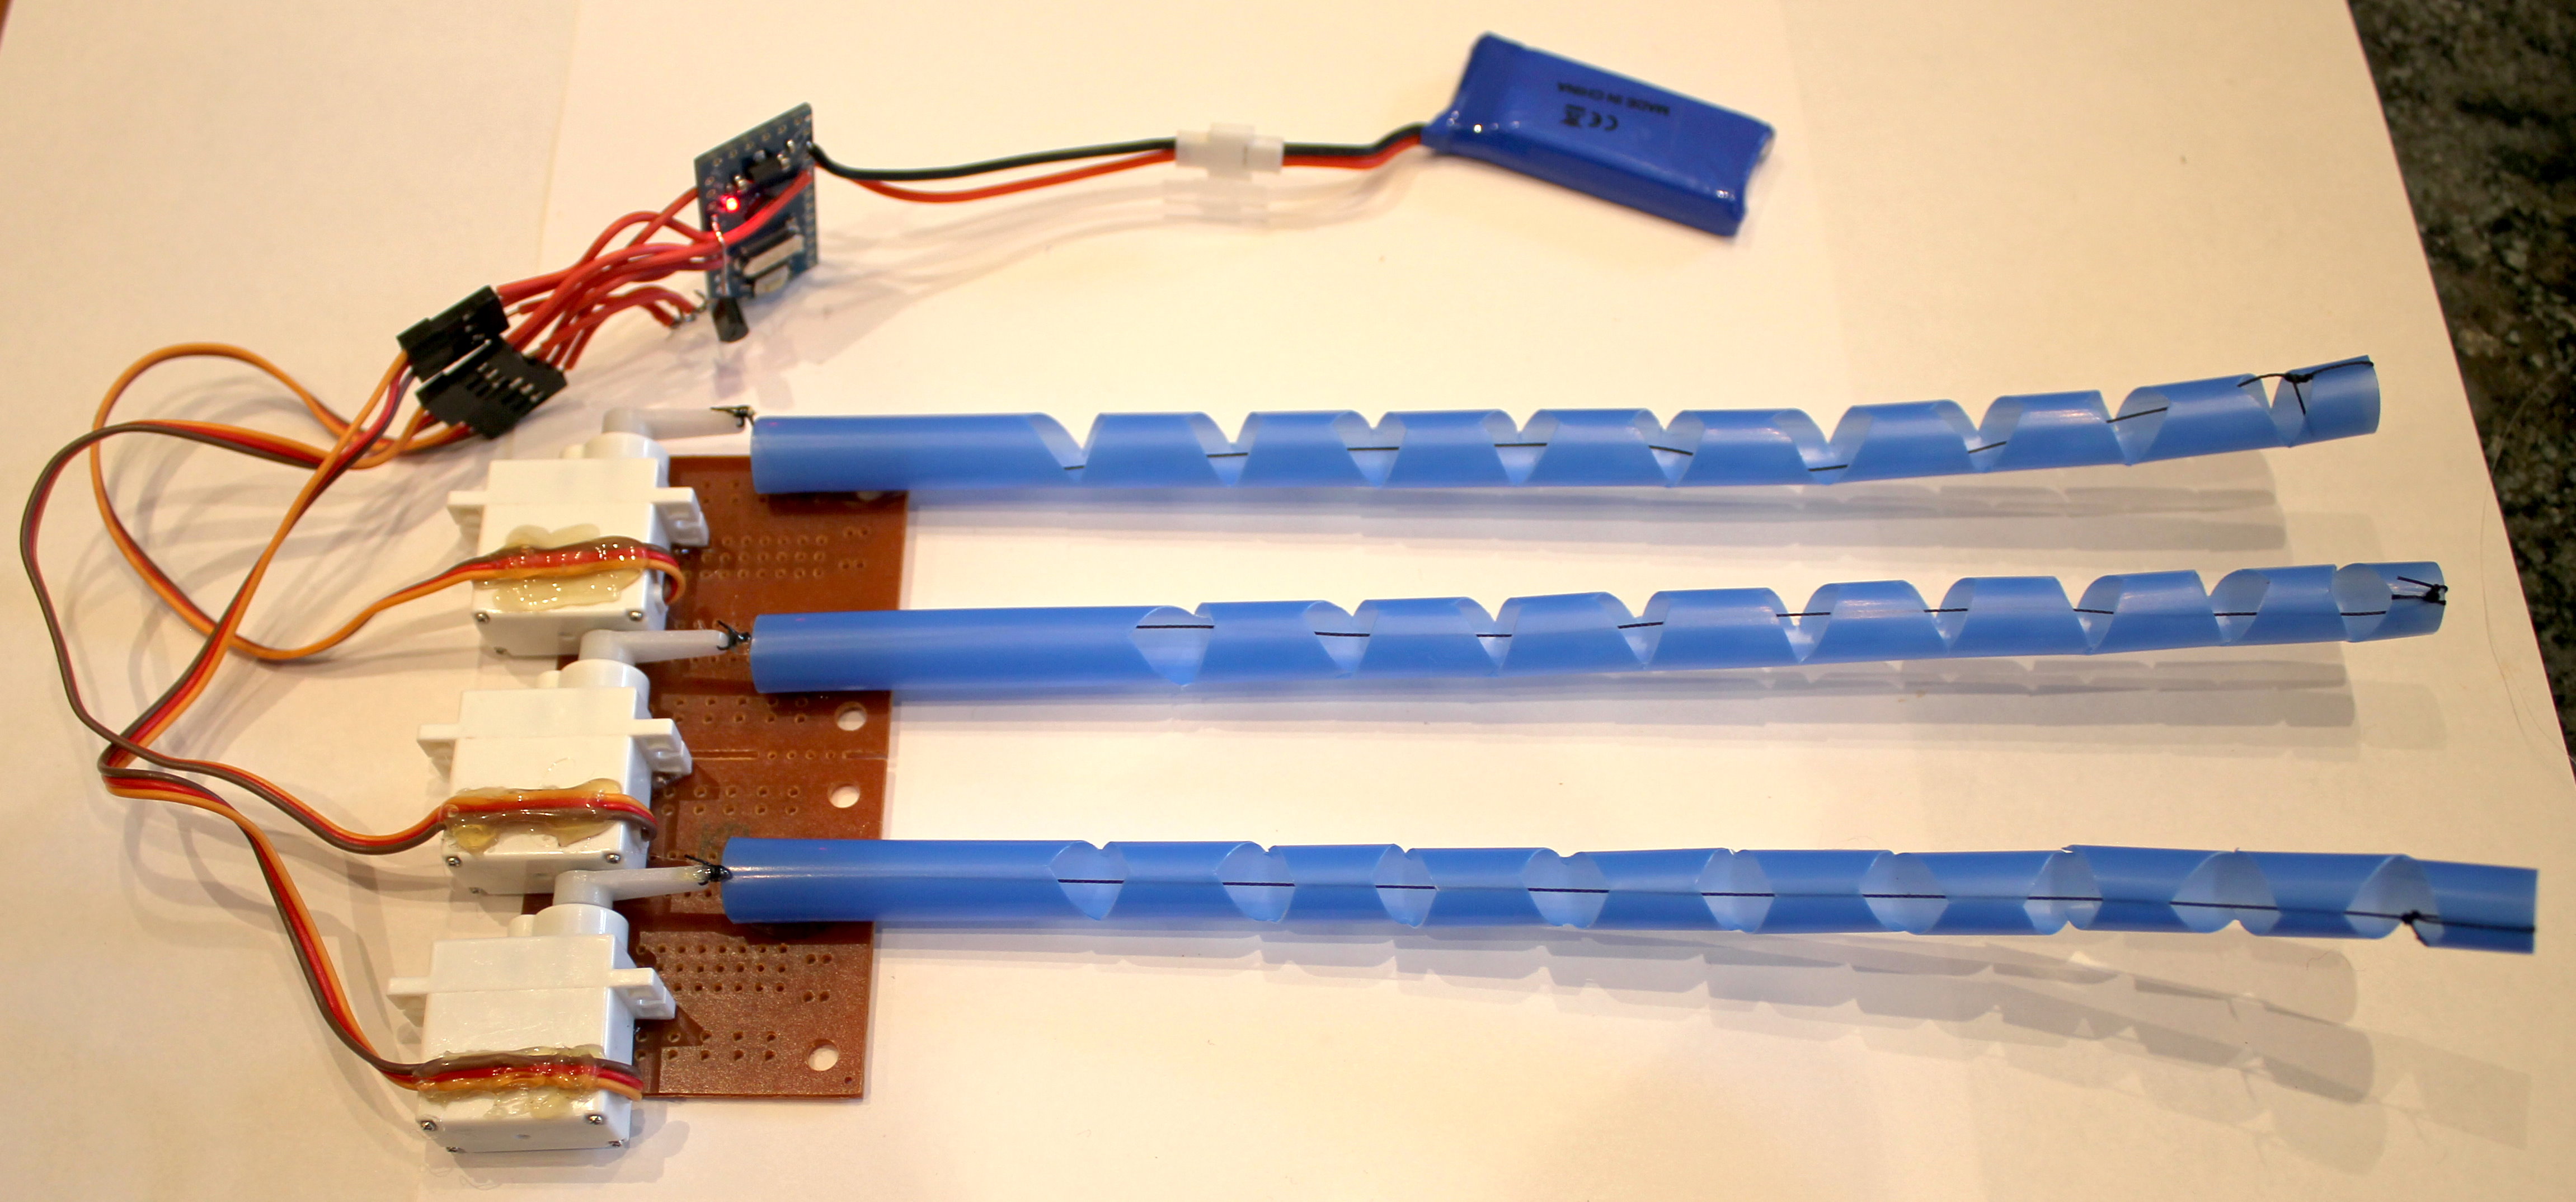 All that remains is to sew up the Kraken puppet, and slip it over the straws and servos.